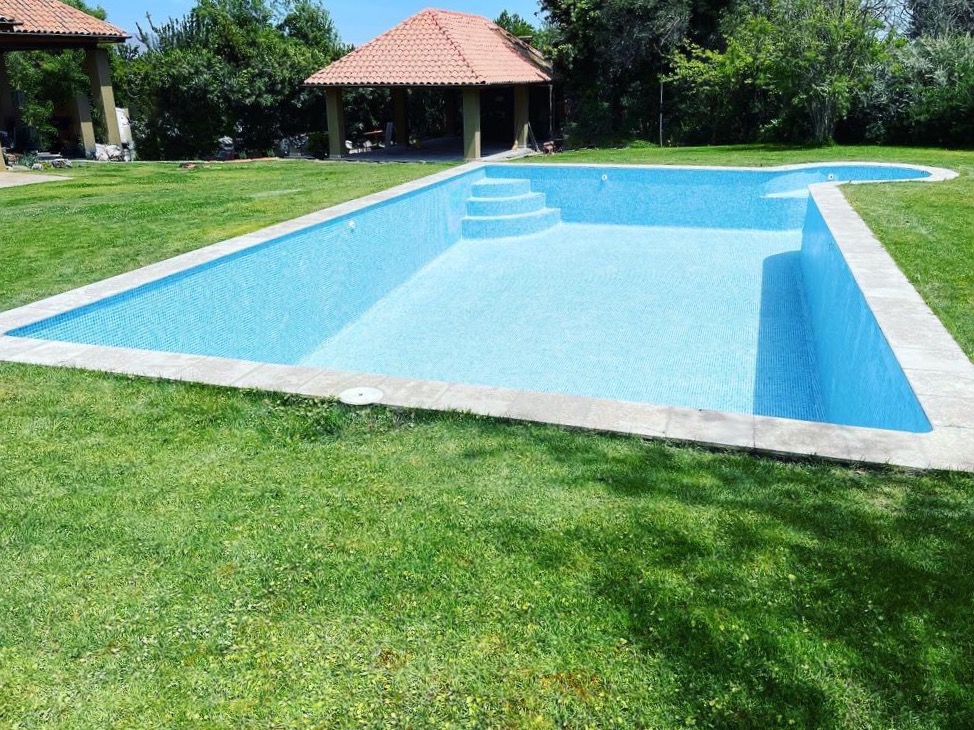
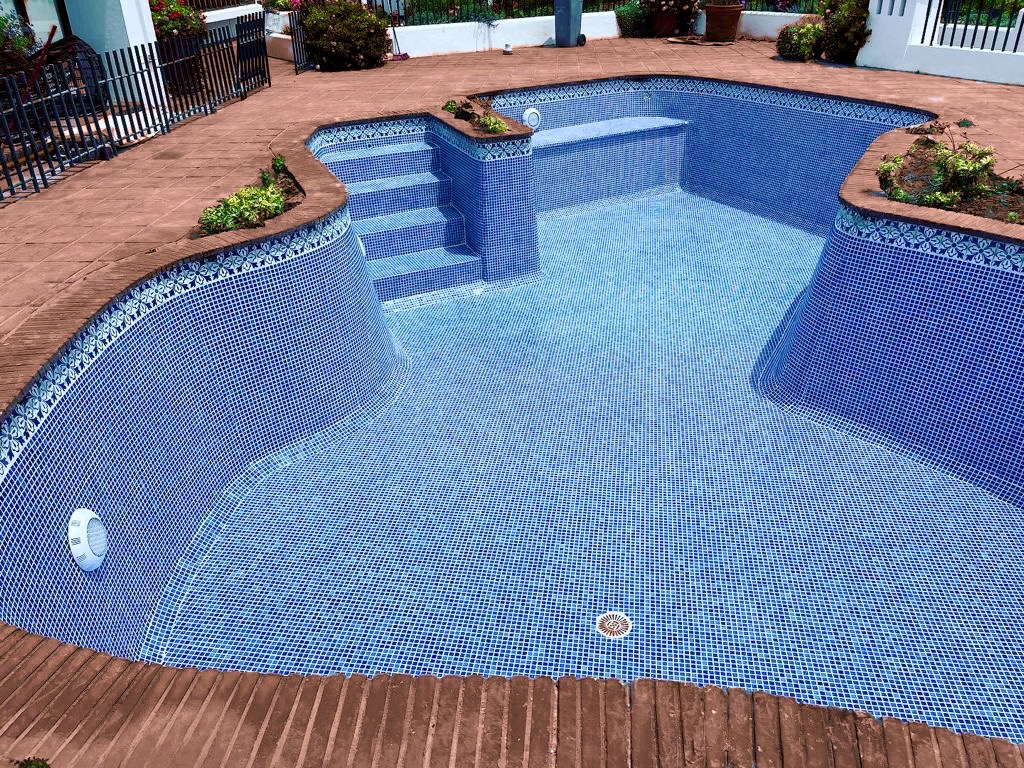
Installation of Mosaic Coating
Contact Form
Once we gather and define the previous points we proceed with the following:
- Pool emptying
- Surface preparation
- Mosaic installation with flexible class C2 adhesives
- Setting and drying 2 days
- Pool filling
- To enjoy!!
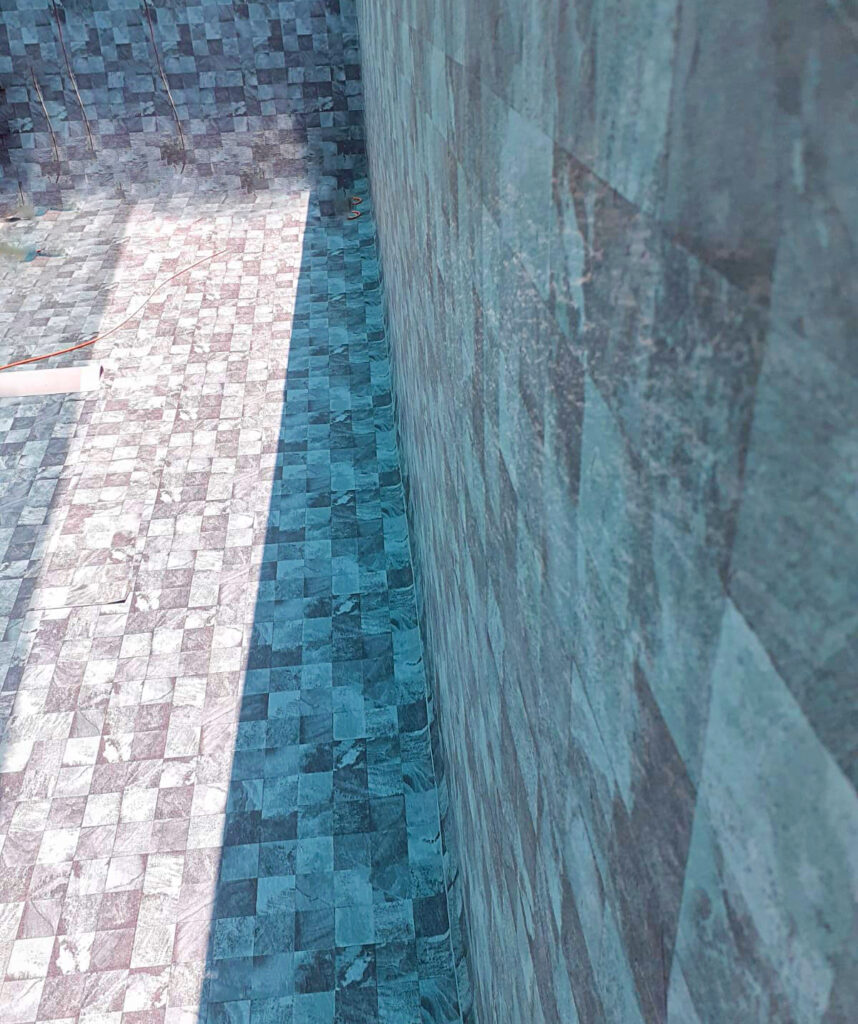
Waterproofing service with PVC membrane
Help guide for installing the mosaic, what you need to know:
- Number of m2 of my pool
- Before installing you must know if there is water loss (pressure test)
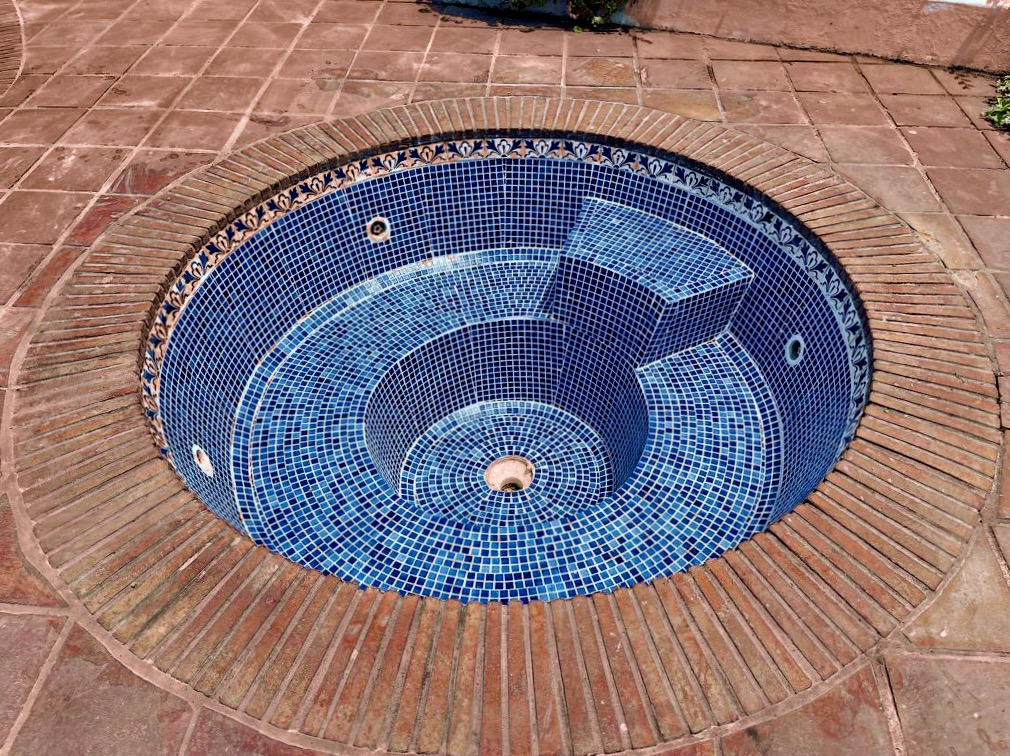
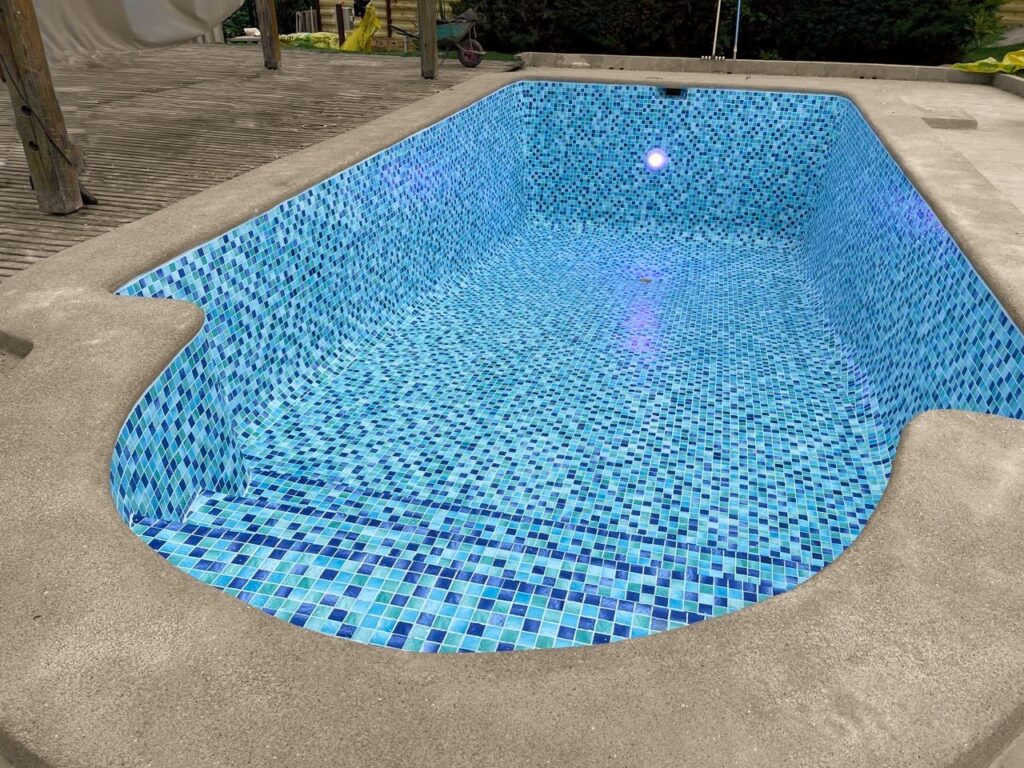
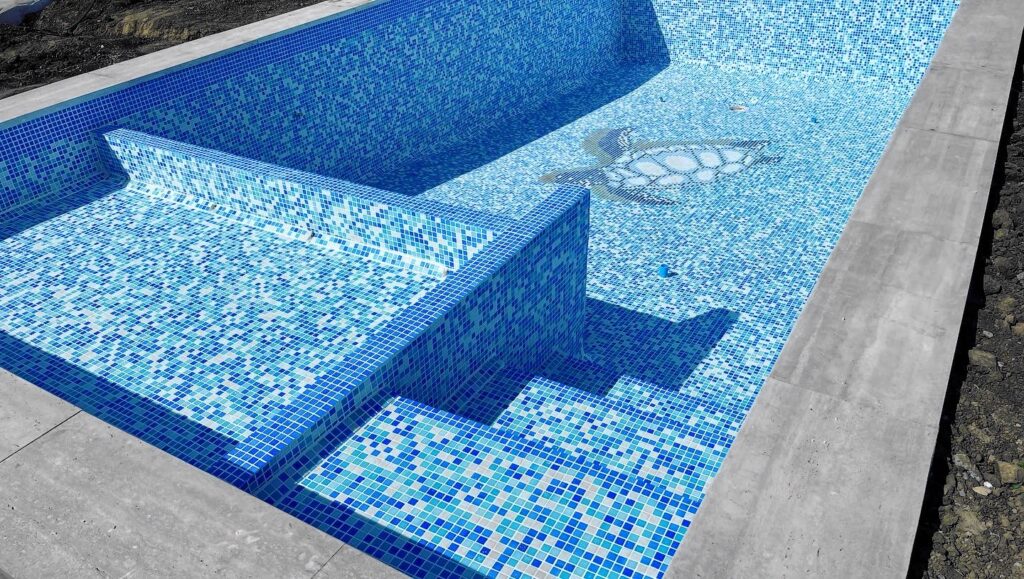
- Define design or model of the mosaic
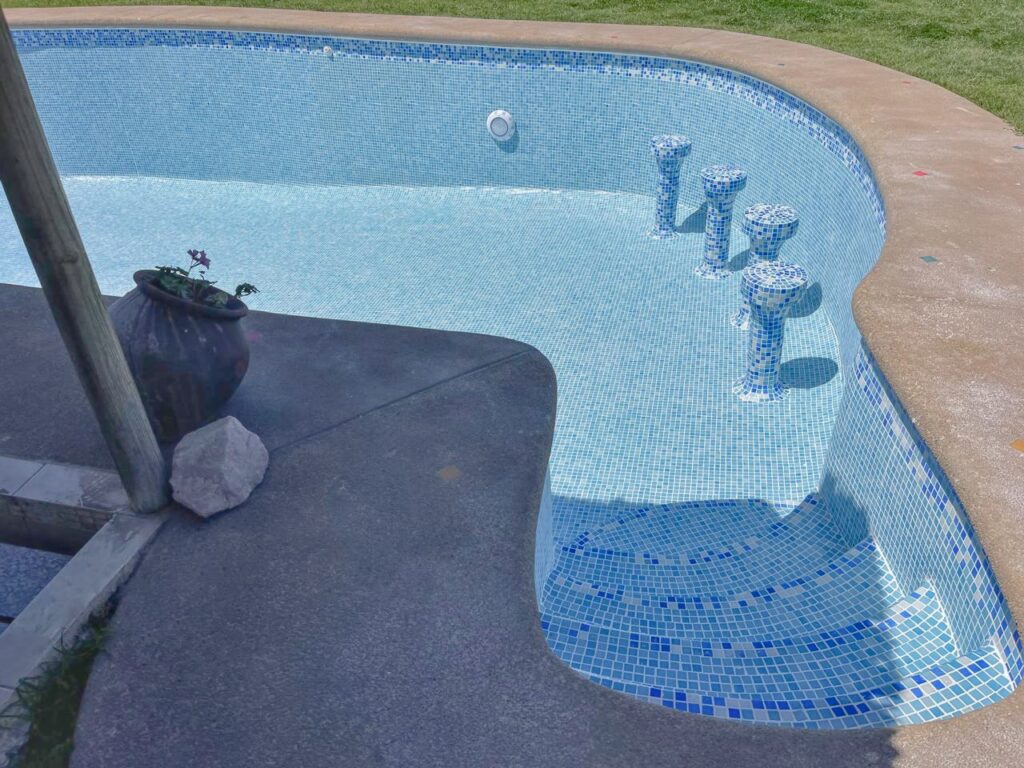
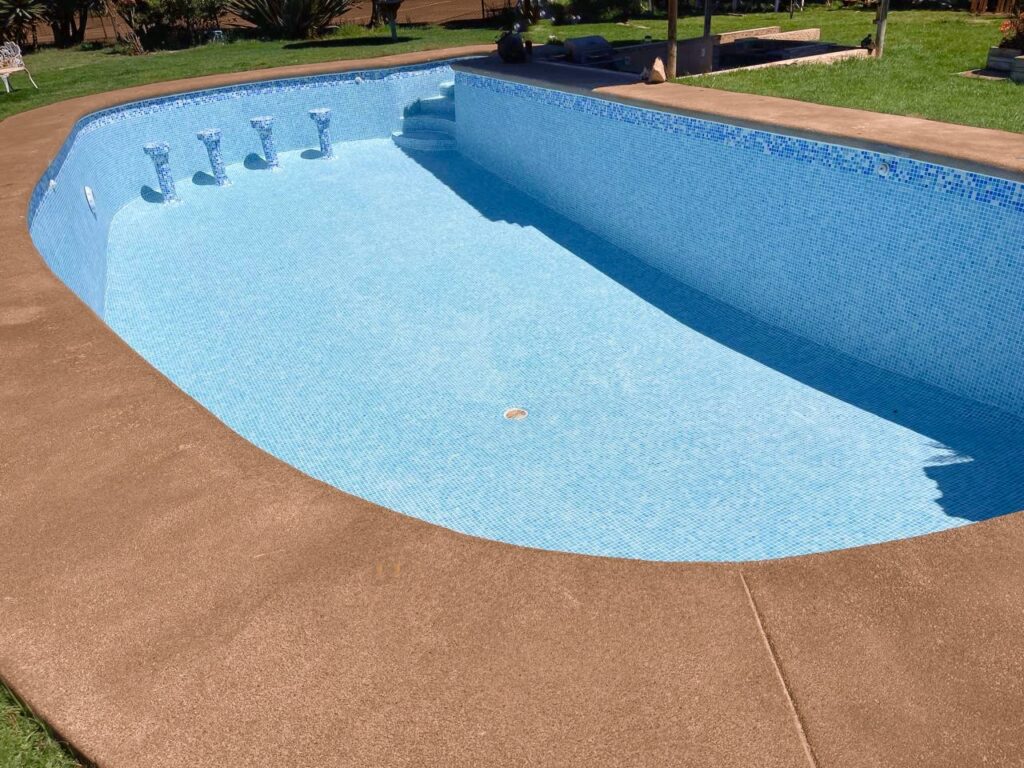
Some of the important details with which we ensure that your mosaic is properly installed and in turn will extend its useful life, are the following:
- Glue application with a 10 mm trowel. For the installation of the panel, with this we ensure that the mosaic panel is left with a sufficient load of glue and fully adhered.
- Glue, this will be flexible and classified C2 with the appropriate color for the mosaic.
- We worry that the palmette will be left with its stonework (spaces) filled with glue.
- An important detail in our work is that (We set with glue) with this we ensure a strong adhesion which will allow it to not come off with the passage of time. GUARANTEE.
Market-leading coating focused on maintaining the tightness of your pool regardless of the quality of the concrete and the lightweight material with which it is built.
We work with 1.5 mm thick reinforced membranes and fungicide protective lacquer, which repels grease, protects from UV radiation and prevents algae and fungi from becoming embedded. It can work with water at a maximum temperature between 30°C and 35°C, warranty times will change for each manufacturer.
This system requires a total change of the ABS parts (embedded parts) that exist in the pool, in order to be able to secure the membrane to each component. This product has several manufacturer brands and different ranges of colors and textures to achieve the desired atmosphere and integration into the design of your home.